

I get given second hand clothes by people who know I like to chop them up and make kids' stuff (see my shop!), but sometimes I find something too nice to be chopped... yet.
A while ago a friend sent me a box of such clothes, among which was a summery tunic type dress. I love the fabric used, it's lightweight and has beautiful prints of flowers. Perfect for hot Gisborne summers on the beach! I wasn't a big fan of the cut though, and with my growing belly in mind, figured it would just be a little bit too short. I also wanted a dress that would flatter a pregnant belly a bit better.
This is a very easy makeover, with very few steps.
First I slipped the dress on, decided I wanted the top to stop just above the navel. I marked it then cut the dress in half.

Then I found a piece of scrap grey merino wool (lightweight and stretchy) and wrapped it around my hips. I made it very slightly tighter so it would fall off the hips but would be loose enough to allow for an expanding belly. For the width, I measured from under my breast down to the very bottom of the belly and added a bit for seam allowance. Now you should have a big rectangle. I serged the side to make a tube that will be inserted between the top and bottom of the dress. The resulting tube can be folded over to make a thin strip or stretched to its whole length as the belly expands (or for a different style, see photo!).
 |

Once I'd done this, I pinned the dress to the tube (right sides together) then serged them.
The shoulder straps were of the adjustable kind and one of the plastic eyelets was broken so the strap was loose. I decided to adjust the length to my shoulders and use the loop on the backside for front, so I could sew a button on the adjusted strap and put it through. This means I can unbutton one side if I want to breastfeed!


Since I am about 3 months pregnant, I can't test the stretch and the fit with a big belly, so I will post an update in a few months. It feels like it will work though, and it means I can wear the dress afterwards as well.
 |
| Before |
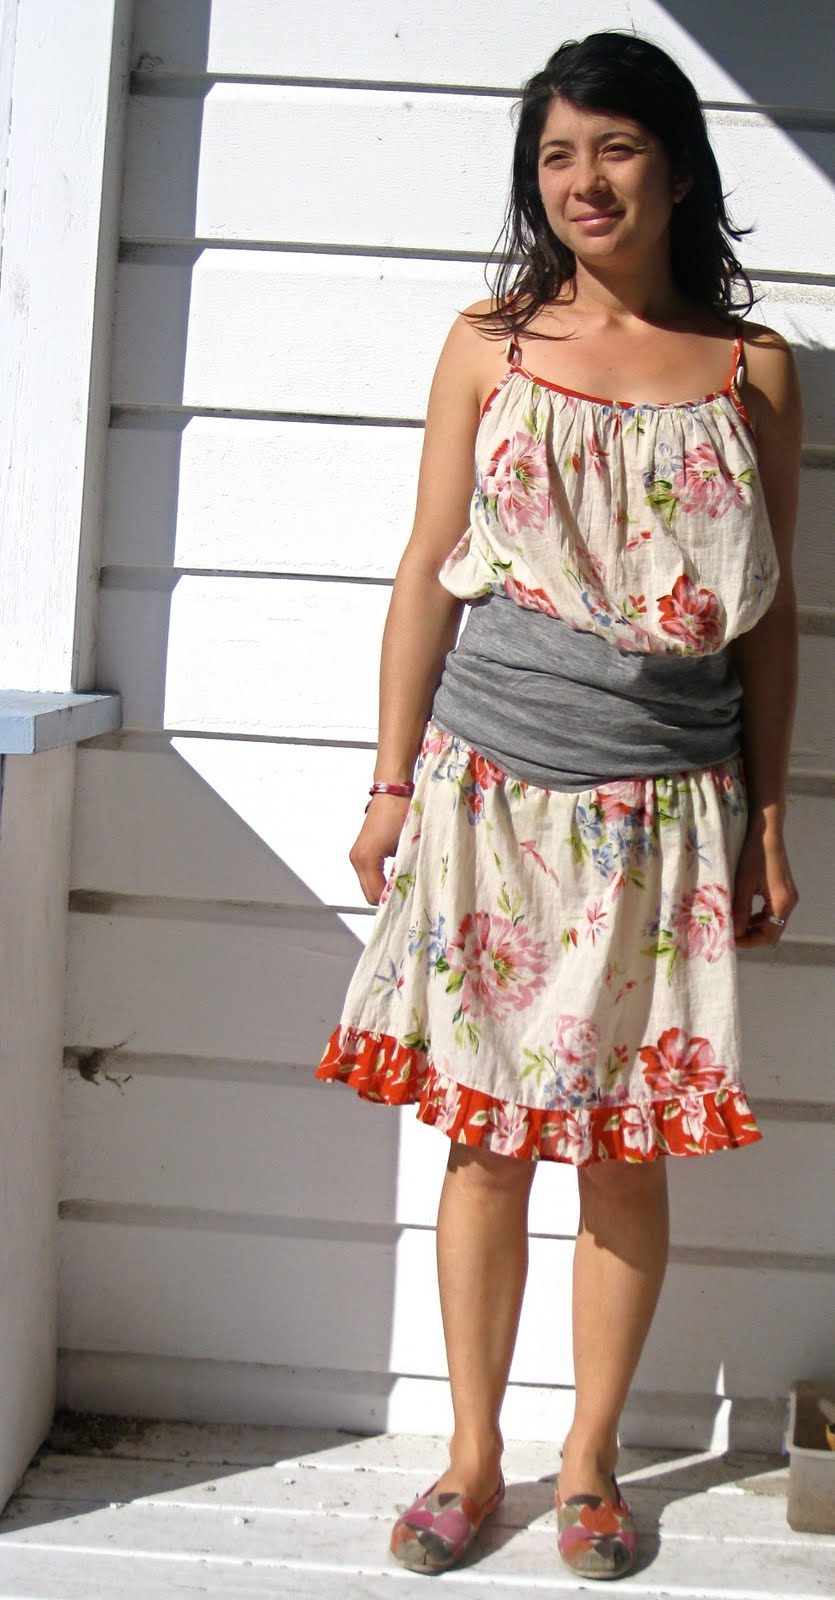 |
| After! |
What a great tutorial and I love the idea of the button to allow for breastfeeding later on! Congrats on your pregnancy too!
ReplyDeleteGreat dress, and original too! I love recycled clothes. Its lovely.
ReplyDeleteThanks! It feels great to give a new life to pretty clothes... And it's always nice to be wearing something different and new!
ReplyDeleteOMG.
ReplyDeleteThat. is. clever!
Well done! Wish I would have thought of that when I was preggos with my 3 - I'm 6'3" tall and clothes are a nightmare at the best of times let alone with a bulging belly!
Have a happy day!
Oh my goodness! This looks awesome! SO clever. I'm totally with you about maternity clothing in NZ -- never quite my style/color preferences and too expensive to boot! So much better to use your creativity and come up with something that still feels like you. Well done. ~ Jen
ReplyDelete