Showing posts with label handmade. Show all posts

Friday, March 11, 2011

15mn pterodactyl wings (or any other flying animal)

What do you do when you have less than half an hour to make things with your oldest son (who is obsessed with dinosaurs)?
Wings to make him fly!

First grab some cardboard and draw the outline of each wing with your model lying flat on the ground. The base of the wing should be where the shoulder blade is. Cut it out, then use it to cut the second wing out.


Use some scrap fabric (I used an upcyced tee shirt) and cut two strips for where the hands are going to be holding onto the wing.


Then cut off two larger strips and sew where the shoulders are going to hold the wings.


Lastly, cut a strip of fabric that is about the width of the shoulders and sew it along the inside of each wing.


This is what the finished wings should look like. Ready for take off!


Wednesday, January 12, 2011

Busy busy

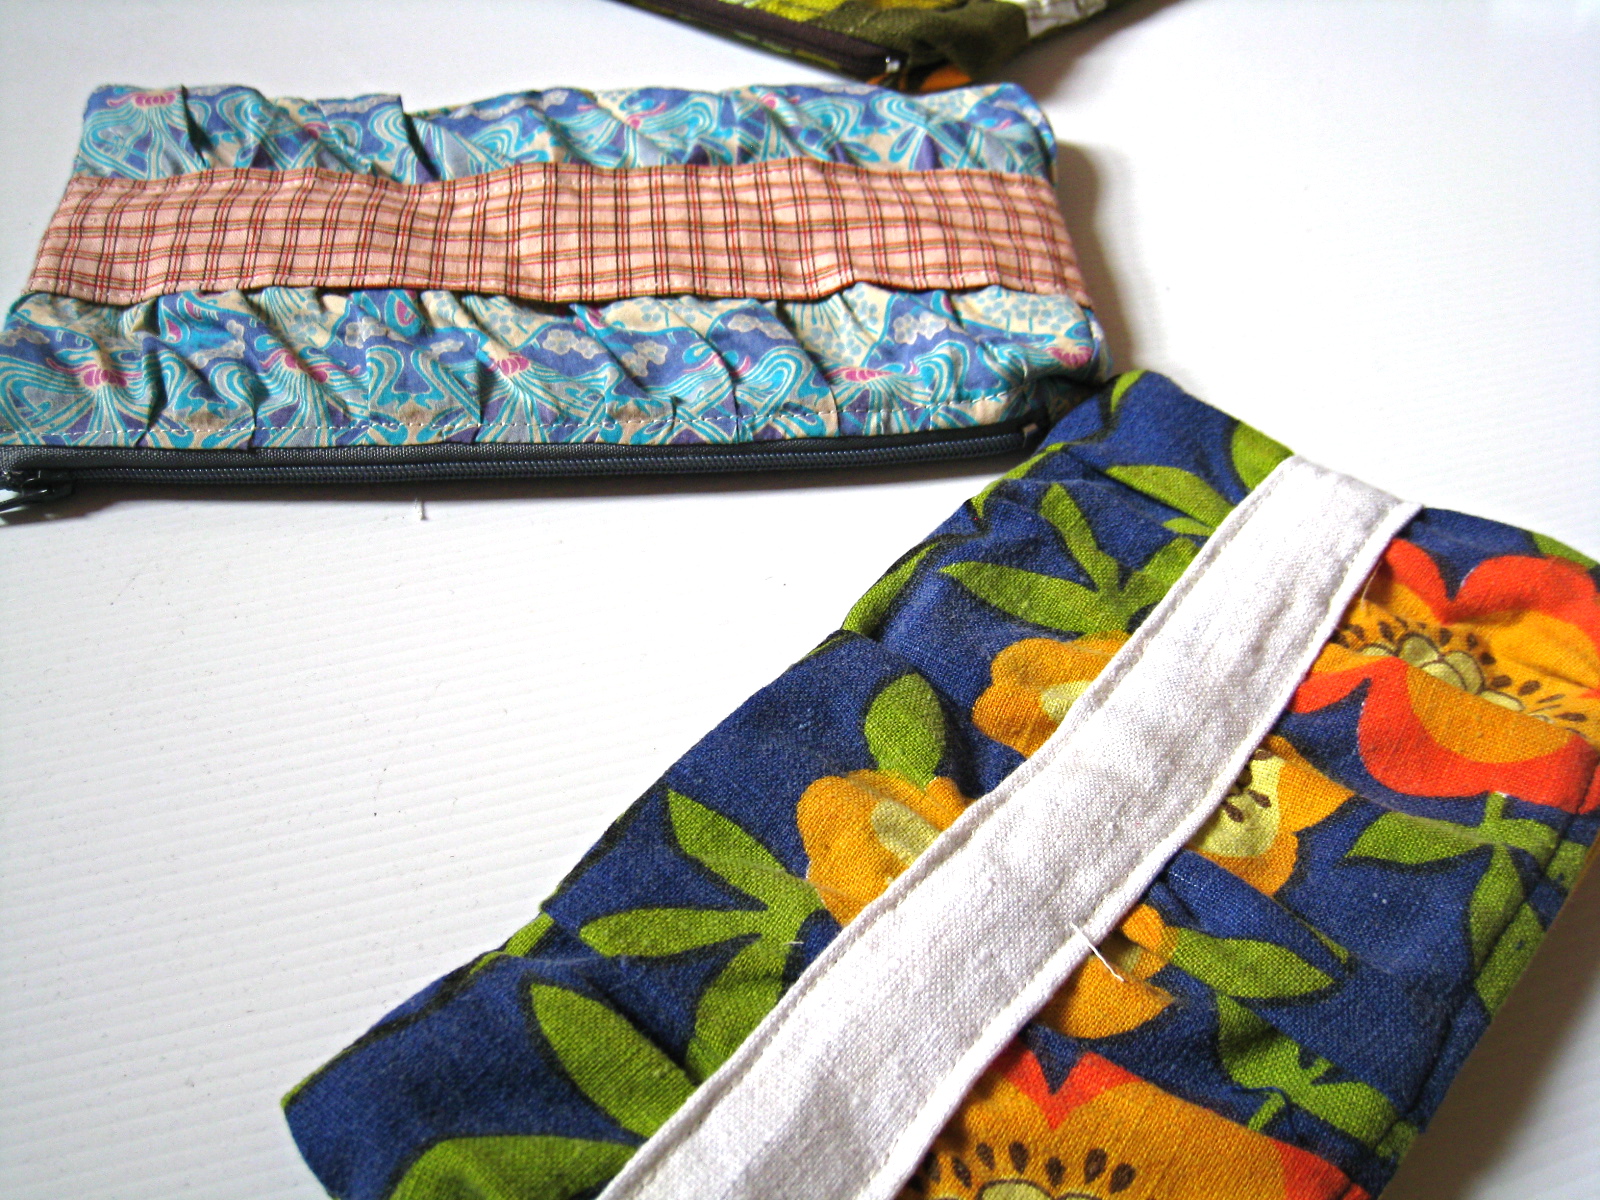
I got a bit carried away last week sewing lots of purses. I'd seen this really cool and easy tutorial on Noodlehead and had been wanting to try it out for ages.
So I got out some fabrics and started chopping away. Next thing I know, I've made 8 of them!
I'm really happy with the result though, and I'm sure they'll all find a happy place in a nice handbag. A woman never has too many purses, and they will be great for late Xmas presents or birthday presents.

The tutorial was super easy to follow, and once the fabric is cut out it takes less than half an hour to finish the project. I had to redo the first three ones though because I started in the evening and didn't read the instructions properly, as I often do.
I might have to keep one for myself too!

Wednesday, September 1, 2010

My creative space


Thursday morning Josh takes Tahi to swimming. It is the only time I get to myself, alone in the house. I have at least 45mn, usually longer if I get Josh to do some shopping as well (hehehe).
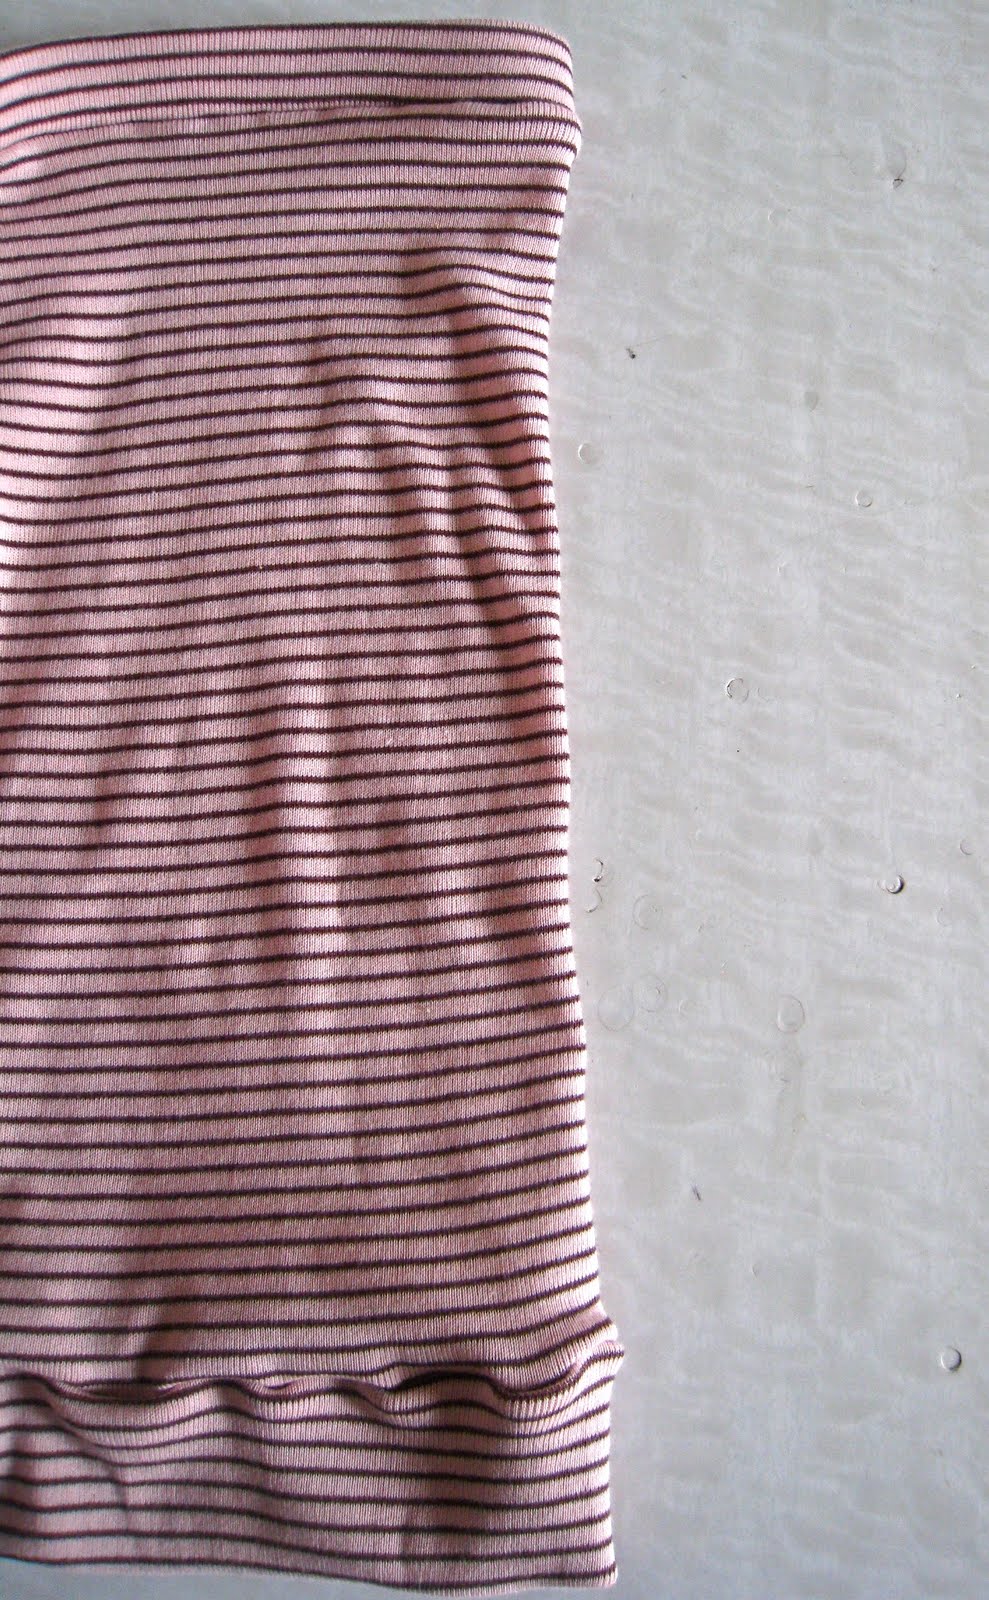
Today then, I've been sewing white dots on red fabric for a custom order (more photos when it's ready!) and making a belly band (with some beautiful organic cotton) for moi since I'm already struggling to button up my pants!
Head over to Kootoyoo for more creative goodness!

Tuesday, August 31, 2010

The great finds

While researching for my no elastic panties tutorial (I wanted to see what was already available!), I fond this great website called the Pattern School, mainly for making swimwear, but it also has a section with pregnancy size charts!
It's quite technical but easy to understand, and it has all the info if you want to make your own swimwear, or even some for your husband or child. There's even a section for "lazy people" where you can enter your own measurements or find "lazy" patterns. It is a great reference, and I'm stoked there is a size chart for maternity wear!

Another cool blog I've been checking out is Makeshift. The author is on a one year mission to wear only what she can make (she even made her shoes!). She's a few days away from completion, but it is so inspiring! She makes coooolll clothes. Here are a couple of my favorites.
I love the asymmetrical look of her tops, and the loose collar. So many ideas!

Thursday, May 27, 2010

MAKE YOUR OWN: headband

This is super easy project that will satisfy anyone's love of accessories.

- Level: easy
- Time: 20 minutes
- Material: 2 bits of scrap fabric, about 40x25cm (15.7x9.8"), 13cm bit of elastic (5.12").
- Tools: sewing machine, scissors


1- Cut two rectangles of fabric, 40x20cm (15.7x7.87"). They can be the same or different. If you use two different ones this means you then  have a reversible headband. I used a tee shirt cotton, with a bit of stretch, but a non stretch fabric could be OK. Cut another smaller rectangle 25x8cm (9.8x3.15").


2- Using your sewing machine or serger, sew both big rectangle together, wrong side out then turn out. Fold the smaller rectangle in half along its length, wrong side out. Sew lengthwise, leaving a small opening in the middle, then turn it out.


3- Insert the elastic in the smaller rectangle, and sew on one side about 1cm from the edge. Do the same at the other end.
4- Fold the bigger rectangle like an accordion, the width of the smaller one. Insert the accordion into the elasticated band, fold the 1cm edge inside, then sew through the opening left in the small rectangle. Repeat for the other side.
once it's all sewn, sew the little opening with a needle and thread (if you want to make an invisible seam) or with the sewing machine.

You're done!


Wednesday, May 26, 2010

Giveaway, yeah!


I bought a headband from the op shop a while ago, and it's been a great accessory, if only just a bit scratchy because it's wool. I thought it would be nice to have some different colored ones, so I replicated it a couple of days ago. The result is what you can see on the photos... (the blue stripy one is the original one).

So this headband is the giveaway, if you'd like to enter, here's how:
- post a comment here
- become a follower or subscribe to RSS feeds
- Tweet, facebook or blog about it (and leave a comment with the link)
Entries close on the 26th of June.

I will also post a tutorial for the headband tomorrow.

Sunday, February 7, 2010

Market prep

Only 10 days left before heading off to Splore , I'm in panic mode, running around like a headless chicken. It never feels like I've got enough stock and there are so many logistic matters to take care of (including looking after my 2 year old!). All of a sudden I wish it was xmas again and I had more time!
Luckily, the latest World Sweet World magazine has got a good article on how to be ready for craft markets and what I love best: a check list. This is only my second market, so a little help is more than welcome.
My range of kids' clothing has been selling quite slowly, I'm blaming it on my love of non-classic designs (maybe too different???) and the fact that people like to spend money on themselves... So I decided create a new range for adults and also get more into fused plastic accessories. Because I get so little time for myself to actually put that into practice, it' a very slow and painful process but I am seeing the fruit of my labour! Here's a sneak preview:


Patchwork style fisherman's pants (also called yoga pants), knee length. Those are great to make because you don't have to worry about sizes, one size fits most.


Fused plastic wallet and pencil case. I have also made a whole lot of box pouches, they're my favorite!