Saturday, March 31, 2012

Colorful african was prints... part 2

Some more photos of beautiful fabrics found online...


 Wondering where part 1 is? here.

Friday, March 23, 2012

kids craft

Tahi and I have been crafting at home, using old magazine covers and pages. I found a cool origami book at the library, and we made this cool crocodile out of it. I've tried quite a few kids activities type books now, and made a variety of stuff with Tahi including robots, planes, kites... and this book was one of the best in the sense that the project actually worked, looked good and was fun to make, easy for a 4 year old to follow and not too lengthy or complicated to make. We also tried other projects from the same book and they all came out great.


And the most exciting for me was that I finally got round to making our own glue. It worked a treat and I'm never buying any glue again (mark my words).


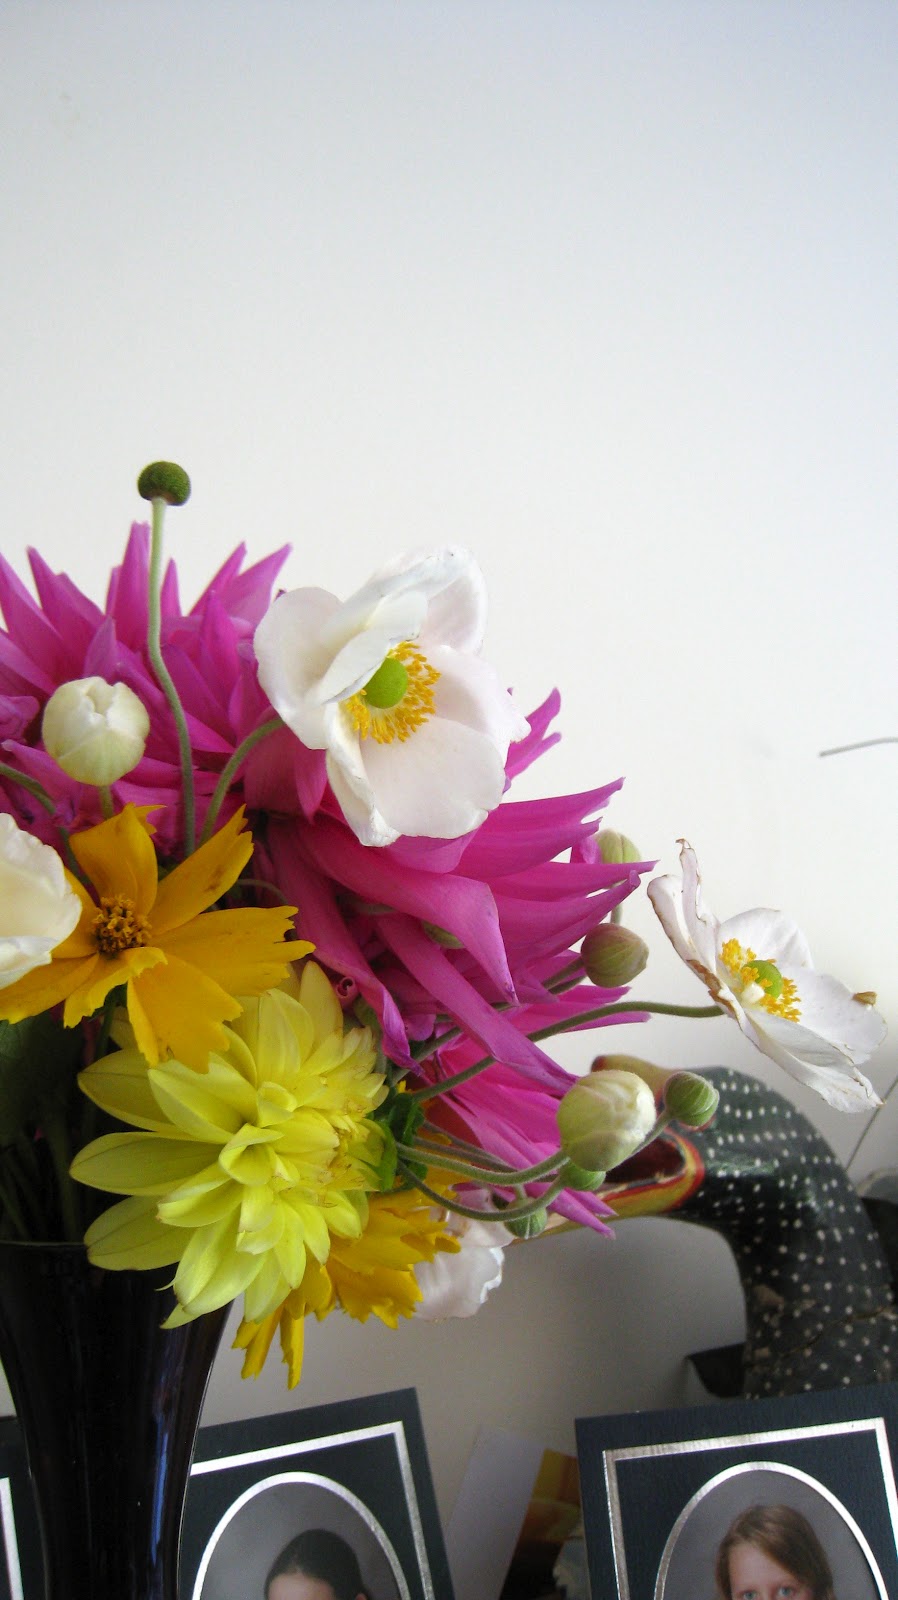
I really like to liven up our living space with flowers, and Josh's mum's garden has got so many beautiful colors I couldn't resist bringing some inside...

Friday, March 16, 2012

Of books and inspiration

I've said it before, I'll say it again, I love libraries. They are such a great source of inspiration, I could spend hours browsing, pulling books from shelves and flicking through the pages, checking out titles on the spines of others (that was before I had kids, now I'll be lucky if I can escape for 1mn from the kids' section and squeeze a book on Tahi's library card (I lost mine, long story)).
So often I've come across a book that touched on a subject I've wanted to explore, or that had amazing pictures. There are so many or my wish list (hint hint).
Gisborne has got an amazing library and Wellington is also up there in the list of cool libraries Tahi and I like to hang out in. Here are a few of the recent "scores" (anyone ever wish the computer systems broke down?), maybe you'll be inspired too!

A beautiful book about african textile patterns. This one is for the eyes and it's a feast. There is also a great little blurb about the meaning of some particular prints too. AND it comes with a CD.


And then a book called "1000 Ideas for Creative Reuse".


This book I found at our local library in Gizzy. Went straight to my wish list.


 Awesome right? This book has been hugely inspiring. It's convinced me there is a real potential for upcycled clothing and motivated me to keep exploring this trend further.

And while we're at it, here's another book on my wishlist (because you can never have too many, hehe).

Tuesday, March 13, 2012

The upcycled knit poncho

Have you checked my shop lately? I've been updating it lately, adding lots of new items, including my latest design: the tee shirt dress.

Of course I also end up browsing quite a bit too. And adding some items to my favorites. Like this woolen knit cardigan by Idea2lifestyle (if I could I'd buy half her shop). I was very tempted to buy. 
Then I thought I should try to replicate it first. So I grabbed a couple of woolen tops I had lying around in the workshop (I do need to get rid of some fabrics) and tada, here's the result. I was pretty happy with how it came out, not so sure about the contrast in colors but got used to it in the end and it does add an interesting twist to my wardrobe. It's not even a week later and I'm wearing it most days.

Saturday, March 10, 2012

Giveaway winners


Well, no contest here,one entry for two prizes... Well done Angelina, you even get to choose the color you want!
On another note, who can guess what plant produces these flowers?


Sunday, March 4, 2012

More photos of the kitchen

Because we can't get enough. The previous photos didn't show Josh cool tile job either. Oh, and also a photo of the bathroom (with a vanity, yeah!).


Remember to enter the giveaway!

Tuesday, February 28, 2012

Make your own: colored beeswax candles and giveaway

A little while ago I posted about our birhday party, and how I made some candles using some Agee jars I had lying around (after being inspired by some photos of tea cup candles in a magazine).
They were super easy to make, just a bit time consuming, especially since I wanted to make layers of various colors. After first trying with some water based food coloring and failing miserably, I used some of Tahi's broken wax crayons. They worked a treat!
So, if you want to make some at home, all you need is some beeswax (you can buy some on Trademe), some colored crayons and some candle wick (also on Trademe).
Once you've decided what kind of container you want to use, cut some candlewick slightly longer that the depth of the said container. Tape one end to a chopstick or any other stick. Rest the stick on the top of the container. You can get different thicknesses of candle wick, mine is a 60 ply. Basically the bigger the container, the thicker the wick (from my understanding, correct me if I'm wrong).


If you are going to color the beeswax, select the crayons you want to use. Meanwhile melt the beeswax in a pot. You can either use a double boiler or put it straight on the element with the heat as low as possible. Experiment with the amount of beeswax used, I used one block per layer of color, each block weighing about 70g.


And if you're wondering if you can use one of your kitchen pots without ruining it, you can. Once you've finished with the melting, simply add vegetable oil to the pot, smear it all over to make sure it mixes with all the beeswax, then wash with dishwashing liquid. Your pot should be as new.
Once most of the beeswax has melted, add the crayons and take the pot off the heat. Stir with a wooden spoon until the wax is a uniform color. Add more crayons if you wish. Then transfer the liquid into your jar/ teacup/ whatever container you wish to use as a candle.

Voila. If you wish to make different layers of colors, make sure you wash your pot in between colors, otherwise you might end up with a dark brownish wax for your last layers! Leave the wax to cool. Make sure the previous layer has cooled down completely or the two layers will mix!
I also experimented with how much to fill the jars and found that leaving about 5cm gap at the top worked best for a good bright flame. The jars that were filled pretty much to the top weren't as bright and tended to go out (mainly because of the wind).
This is the result of my first jar. You can see the layers of colors are not that different and not very bright. I tried using natural pigments (namely turmeric and cinnamon) and probably didn't put enough, and the green was made with crayons but too few to my taste.

Here are the four candles I made, I was pretty stoked with the results, especially the blue and pink ones.

Now for the giveaway... I am giving away TWO candle making kits. They include a block of wax (about 70g), some 60 ply candle wick and enough crayons to get a nice vibrant color!


To enter, just leave a comment. Entries close on the 7th of MArch (in a week). Good luck!